Aftermarket car accessories can transform both the look and performance of a vehicle. While some are focused on practical benefits like storage or safety, others deliver unique styling and personalisation, like for instance, lights. When it comes to car accessories, lighting upgrades are among the most noticeable, allowing owners to create a distinct visual statement while improving visibility in certain situations.
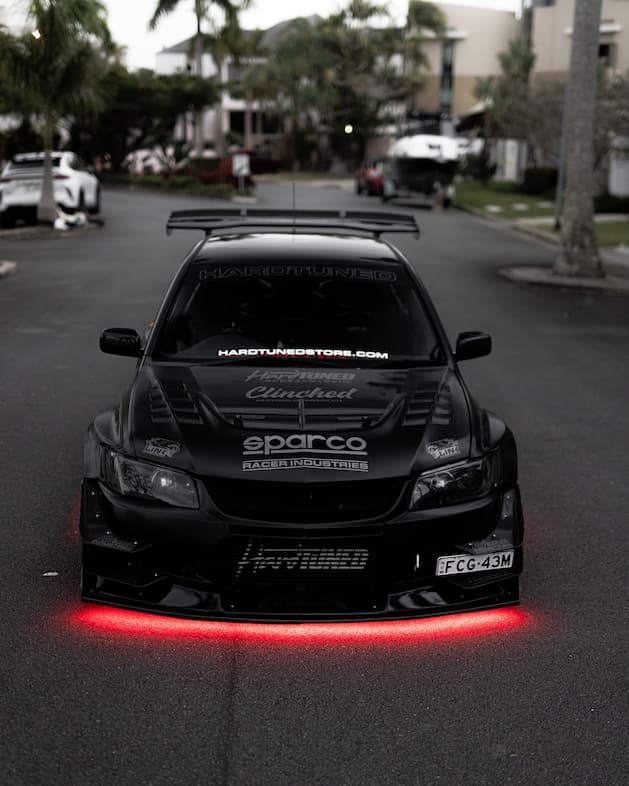
Just like your headlights, underglow LED strips emit light, but instead of lighting the road ahead, they illuminate the area underneath the vehicle, producing a dramatic glowing effect on the ground. A proper underglow kit offers a way to customise your car’s appearance while adding features like colour changes, preset patterns and remote control for quick adjustments. Installing one correctly gives you the desired visual impact and a solution that will last a long time.
Installation Process
Plan
Planning is critical before any mounting or wiring is done. You need to measure the underside of the vehicle to determine the suitable length of LED strips and where they will be positioned for even light distribution. Check for mounting points that provide stability while keeping lights hidden from direct view to avoid glare. Also, before opening up your vehicle underglow kit, confirm that the routing path for wires avoids moving parts like exhaust pipes and components that generate heat.
Mount
Once you determine the placement of the strips, proceed to mounting. Many kits include adhesive backing, but for a stronger hold over time, using mounting brackets or clips is recommended. The position of the strips should be symmetrical on both sides and evenly spaced at the front and rear of your car, as well as the sides. Correct mounting ensures that the lighting effect is uniform and reduces the risk of strips coming loose when driving, especially at higher speeds.
Wire
Wiring the kit is done by connecting the LED strips to the control box first. These wires usually come as part of the underglow kit. From there, connect the control box to the car’s power source, which is usually the battery or fuse box. The wiring needs to be secured with cable ties and routed away from heat, water, oil and any sharp edges. Insulate all connections to avoid short circuiting and ensure long-term reliability.
Program
Once connected, the control system can be programmed, as there are kits that rely on a remote control, while others connect via Bluetooth or a dedicated smartphone app. Here you can set colours, brightness levels, flashing patterns and even sync the lights with the music being played in your car. Programming the kit before any final testing allows you to check every feature without the need to redo any of the wires.
Test
The final step is to test the whole setup. This involves checking each strip of light for consistent brightness, verifying that all programmed modes work, and ensuring there is no flickering or interruptions. Testing at night is best in this case as it helps you confirm even coverage and colour accuracy. If issues appear, you can fix them before reinstalling any underbody panels or making the system permanent.
Benefits of Underglow Kits
Convenience
Many modern undeglow kits are plug-and-play, meaning the need for tools is minimal and technical knowledge isn’t a requirement. Some kits can even connect wirelessly to a remote control, which eliminates the use of too many wires. Once set up, selecting a lighting mode or changing the colour is as simple as pressing a button on a remote or app.
Cost-Effectiveness
While kits can be quite expensive, there are many quality options available at accessible prices. The LED technology used in most kits consumes very little power, so there’s no noticeable impact on your car’s battery. The long lifespan of LEDs further adds to cost savings, as replacements are rarely needed.
Versatile
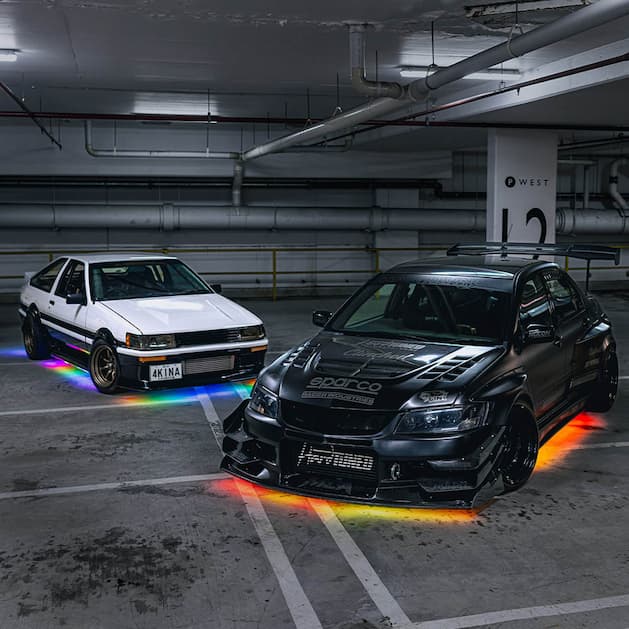
An underglow lighting setup can be customised to match different occasions and themes, being able to satisfy personal preferences. With kits offering millions of potential colour combinations and various lighting effects, such as strobe, fade or chase, the appearance of your car can be changed whenever you desire. This level of versatility also extends to the installation process, as, oftentimes, the same kits can be fitted to cars, trucks and even motorcycles.
What to Look For in an Underglow Kit
Length
Choosing the correct length is essential to achieve even lighting without any dark areas. Most kits have the total length of the strip listed on the packaging, which should match the dimensions of your vehicle’s underside. A kit that’s too short will leave gaps in illumination, while one that’s too long may require awkward cutting or looping.
Beam Angle
The beam angle refers to how wide the light spreads from each diode. A wider beam angle results in a smoother underglow effect, as light overlaps and eliminates sharp edges. Narrow beams can create unnatural lighting lines, so choosing strips with at least a 120° beam angle is recommended for a continuous glow.
Controller
The controller is the brain of the installation. Some basic units only allow static colours, while advanced controllers offer colour cycling, custom programming and app connectivity. If you want dynamic lighting effects, selecting a kit with a multi-function controller is the best way to go.