You probably know that inert metal gas welding (MIG) is one of the most popular types of welding. It’s the most commonly used one, as it’s relatively easy to learn yet provides superb welding results. It’s also affordable, flexible and portable, and doesn’t require any type of electrical equipment. On top of all this, you can weld cut, weld and braze most types of metal. I’ll go through the basics of gas welding and the gas welding supplies required to successfully weld using this method.
Gas Welding and Safety
Safety in the workplace is the number one priority. This is especially true for beginners. A book every beginner welder should read is the Model Code of Practice on Welding Processes from Safe Work Australia. It provides all the information you need to know about the safety standards, ensuring you get the ideal weld and not a pile of ash and useless, damaged metal pieces. Some other tips before you start gas welding are:
- Use an Oxy-acetylene safe outfit
- Never use Acetylene gas at pressures over 100kPa
- Crack open the fuel cylinders or oxygen first
- Have a fire extinguisher at hand
- Open the Acetylene cylinder valve one and a half turns and have a wrench on it
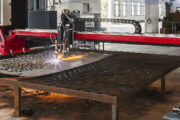
Gas Welding Equipment
The basic equipment and gas welding supplies are:
- Cylinders: The fuel and oxygen mixtures are contained in pressurised steel cylinders
- Regulators: Used to control the gas flow by taking in high amounts of pressure and reducing it to lower working pressure
- Hoses: Flexible, non-porous hoses are used to conduct fuel and oxygen to the torch. Oxygen hoses are typically green, whereas gas hoses are generally red
- Hose fittings: Hoses are taped together or moulded in a Siamese hose form. The oxygen hoses feature right-hand threaded fittings, whereas fuel gas hoses feature left-hand threaded fittings. The torch- and regulator-mounted flash arrestors are used on fuel and oxygen hoses to prevent backfires and flashbacks from rebounding the cylinders and hoses
- Safety Valves: Used to regulate the flow of gases, preventing backflow into the hoses or cylinders
- Torches: Used to control the flame temperature and the heat released. Available in a wide range of designs
- Tips: Available in a wide range of designs based on welding requirements. Some feature their own mixing chamber
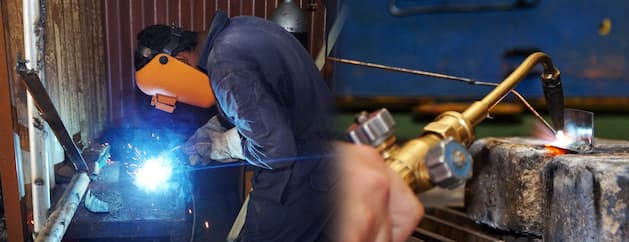
How it Works
When you start welding, oxygen and fuel gas are fed through a blowpipe, where they’re mixed. The resulting mixture exists through the welding tip. The regulator is used to control the pressure at which each gas is pumped through the blowpipe, before being ignited with a flint. In gas welding, different gases are used for different purposes. For most applications, Oxy-Acetylene is all you’ll ever need. This mixture is great for welding, brazing and cutting metals. It’s extremely flammable, and is the hottest commercially available gas, capable of reaching up to 480 degrees Celsius, which is the surface temperature of Venus.
How to Set it Up
Once you’ve checked all the safety boxes, it’s time to remove contamination that can cause ignition or harm it. This is performed by cracking open and closing the cylinder valve carefully. This should be done away from any ignition source. Then, you should attach the regulators to the cylinders tightly in order to prevent leaks. Then, attach the other end of the hose to the blowpipe. The hoses should have a stamp and sticker near the handles to signify which hose goes where. Once done, check for leaks again before lighting up the torch.
Lastly, close the blowpipe valves and ensure there are no leaks in the gas and oxygen valve. Open each valve slowly, and keep only one open at a time. Set the regulator to 100kPa. If there are leaks the gauge will move and you’ll need to apply a leak testing solution to close it off.
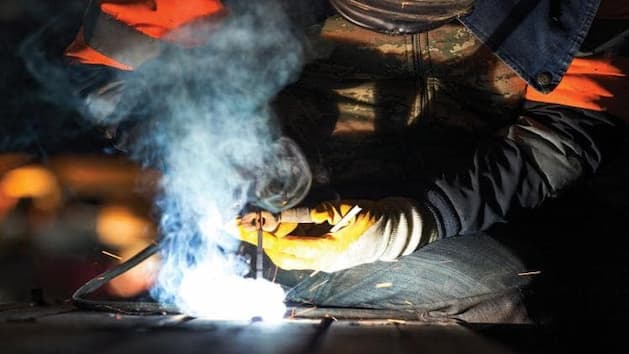
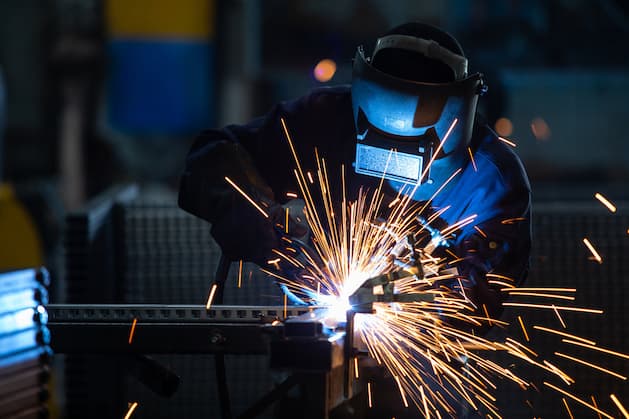
Gas Welding Techniques
Sometimes, your blowtorch can backfire, resulting in small explosions at the blowpipe tip. If that occurs, it means that the gas flow is insufficient, or the tip is too hot and you’ll need a break. Sometimes, there can be metal or carbon particles stuck inside the tip, which will require a thorough cleaning.
Hold the blowpipe in a forehand position for the most natural feel. A 60 to 75-degree angle is best. Of course, this can vary based on metal thickness and tip size. For instance, you’ll have to hold it at 30-45 degrees for metals that aren’t mild steel. You can move the blowpipe in circular motion for the best results, but never move outside the weld puddle. Additionally, the tip of the pipe should be 2-3mm above the work surface.
As the weld puddle goes along the seam, pay attention to its diameter. A greater diameter means better penetration, resulting in better welds. The puddle can also hint where you need to adjust the flame size and movement speed, and whether you’ll need to use a filler rod.
Most of the time, you’ll be using filler material or rods to strengthen and shape your weld properly. When using these supplies, start off by making a puddle at the spot where you’ll want to start the weld. The rod should be around 10mm within the blowpipe flame and 2-3mm above the puddle.