Wheel bearings are one of those car parts which can take a lot of beating since regular inspection only happens around every 48,000 km. But regardless of that, the front pair of bearings is usually the one to go first since it gets affected the most by the steering and the way to be certain about it is to jack up your car and try to rock each wheel holding it by its 12 and 6 o’clock sides. While a little bit of play means that you only need to adjust it, if you hear noises, then replacing it is inevitable, but luckily it is something that you can do yourself too.
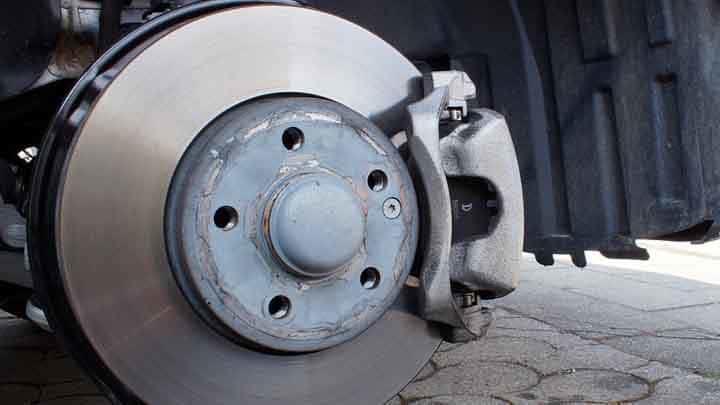
Before getting to the bearing itself, you first need to remove the brake mechanism which in this case would be to remove the disc brake callipers and the calliper bridge. This is a fairly simple process, but if your front wheel bearing uses drum brakes, skip the first part and start from the second step, but not before you go over the tools and equipment.
What you need:
• New wheel bearings
• Dead blow hammer
• Lots of rags
• Cotter pin
• Wheel blocks
• Wheel bearing grease
• Large adjustable wrench
• Channel locks
• Socket and ratchet set (assorted wrenches work too)
• Bearing race driver tool/ various size punches
• Safety Glasses
• Rubber Gloves
Removing the Old
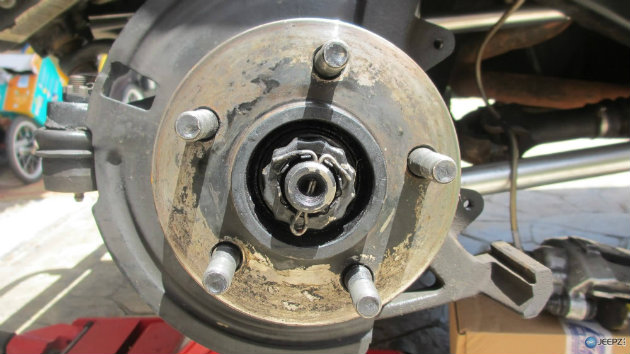
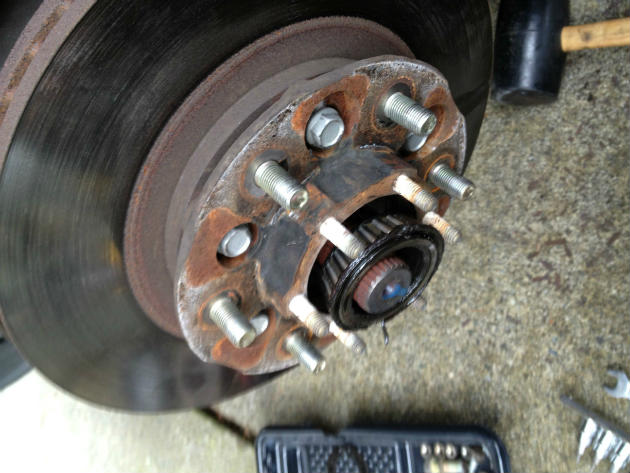
1. Start by removing the bearing cap by grabbing it with the channel locks and working it back and forth just be careful not to crush it. Once you remove it, you’ll remove the cotter pin together with the retainer ring but if your car has a castellated nut it won’t have a retainer ring on it. Next, remove the nut from the spindle either with the channel locks or with an adjustable wrench. This should be followed up by the removal of the outer front wheel bearing and washer which you will need to lay aside for the time being.
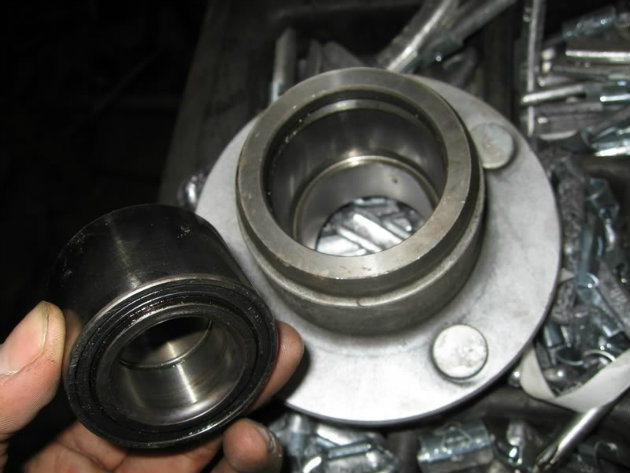
2. After that, you need to slide the rotor or the drum from the spindle which will be somewhat difficult, but it will come off with a little bit of effort – don’t worry about damaging the grease seal, you’ll be replacing that too. Once you have the rotor of the spindle, remove the grease seal and take out the inner wheel bearing and wipe all the grease from the inside of the hub.
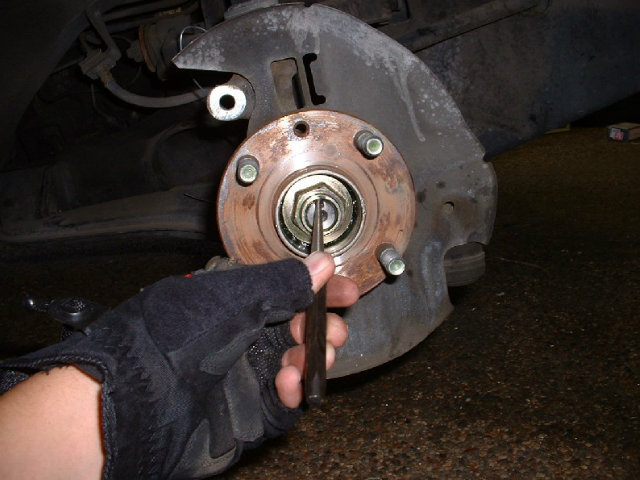
3. Once that’s done, you will then need to remove the bearing races from the hub. This is done by placing a punch with a flat narrow tip on the back of the race – some hubs have gaps that expose the back of the race for easier removal. You will tap out the races going from one side to the other so it comes out evenly. After you’ve taken it out, flip the rotor/ drum over and do the same thing for the other brace.
Installing the New
1. Installing the new races will require you to first coat them with wheel bearing grease in order to slide them in the hub more easily. Start off by selecting the right size of your race driver and sliding the race with it evenly so it doesn’t get cocked in the divot. In case you don’t have a race driver, you can use a hammer to tap the outside, but as always, make sure you do so evenly around it. Once you have the race flush with the hub, you will then need to drive the rest of it using a flat narrow punch. This needs to be fully sealed – a good indicator is the change of the tapping sound, but you can always check on the other side.
2. Packing the bearing is best done with a bearing packer, but you can also do this by hand by putting a blob of grease in your palm, slipping the front wheel bearing on your index finger with the wide end facing out and taping it in the grease until you see some coming out the other side. Once it comes out, start turning the bearing until you have grease coming out from every side of the bearing.
Reassembling
1. First, put a bed of grease on the surface of the race and then push the inner wheel bearing in it. Afterwards, take the new grease seal and tap it into place – you can use a small block of wood to avoid bending or distorting it. Then you’ll need to put a coat of grease between the two races inside the hub and on the spindle too.
2. After you do that, start sliding the brake rotor/ drum onto the spindle – this should be easy, but if it isn’t it means that the bearing is cocked. Try sliding it off and putting it on so it’s sitting flat and try it that way. Once you have it on, grease the outer race and then slide the outer front wheel bearing on and then slide the washer too. Washers usually have a tab that aligns with the spindle which is an indicator that shows when you have it lined up.
3. When you’re done lining up the washer, place the nut on the spindle and tighten it with your hand until it doesn’t turn anymore, then turn the rotor/ drum back and forth and tighten it some more. This needs to be done a couple of times in order to get the bearings seated. Then you need to tighten the nut with a 1/4 turn and in case you have a castellated nut, you’ll need to align it with the hole that goes through the spindle. You’ll need to install the new cotter pin after that and if you have a retaining ring, you’ll first need to place it on the nut and then install the pin.
4. As a final step, you’ll need to put a small blob of grease inside the dust cap and tap it into place, without crushing it of course. Make sure the dust cap is fully seated.