Oakley started out by selling motocross hand grips first. It wasn’t until 1984, 9 years after being founded, that the company entered the sunglasses market. Despite releasing ski goggles and motocross goggles in 1980 and 1983 respectively, the year 1984 was the official year when sunglasses manufacturers got a new competitor. And one to keep an eye out for!
The first sign of the serious competition that Oakley was becoming was seen two years later in 1986. Cyclist Greg LeMond was spotted wearing a sport model of Oakley sunglasses when he won the Tour de France. From then on, Oakley has been a success story of its own, offering quality sunglass models for everyone’s taste.
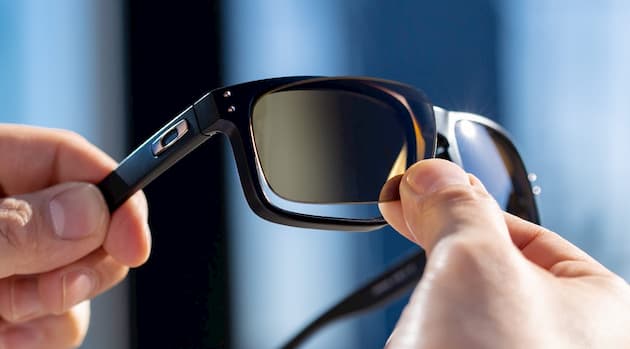
However, with higher quality usually comes a high price too. This means that Oakleys can be quite an investment and you need to protect them to prolong their lifespan. Unfortunately, accidents do happen and scratched lenses can occur no matter how careful you are. But luckily, a big advantage of owning sunglasses by a world-famous brand is that you can easily find replacement Oakley sunglass lenses for the model that you have. After you manage to do so, here are some tips on how to successfully install the replacement lenses on your own.
How to Replace Oakley Lenses
There are more than a dozen models of Oakley sunglasses and it’s important to keep in mind that not every single one has the same replacement process. In addition. knowing the different sunglass components can help following the installation instructions for the new Oakley replacement lenses much easier. That being said, here’s a simple guide for replacing the lenses on some of the most common Oakley models.
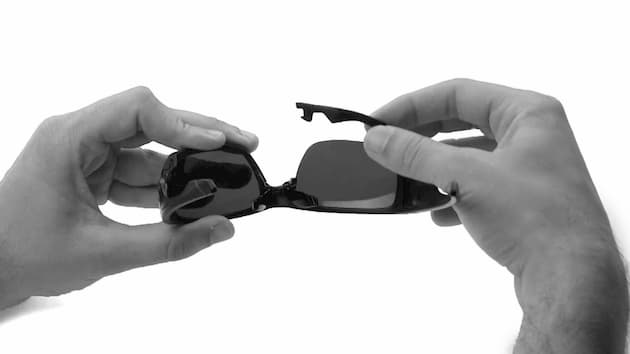
Flak Jacket
A flak jacket lens is removed by placing your index finger into the nose bridge and the thumb of that same hand on top of the frame. While holding the lens with your other hand, flex the nose bridge towards you with the index finger. Push the top of the frame down with your thumb at the same time. Then, with your opposite hand pull the lens from its groove.
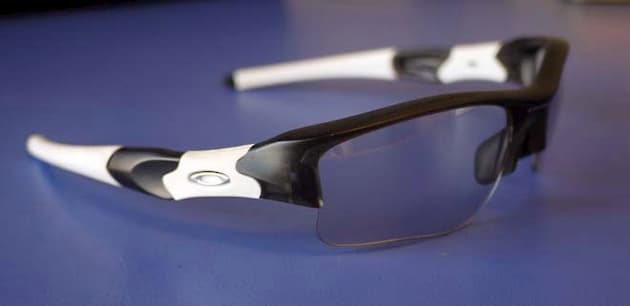
To install the new lenses take the sunglasses in your hand with the frame facing your palm and slide in the outer lens tab into it. Make sure to align the inner lens tab in the frame rim and then slide it carefully up into the groove. Whilst holding the lens firmly, slide the thumb of the opposite hand along the top of the frame until you have the inner lens tab snap in to place.
Fast Jacket
Oakley sunglass lenses on Fast Jacket models are super easy to replace thanks to their Switchlock Technology. The switch is located close to the left temple on the sunglasses which you need to push down gently using your thumb. Then, just place the lens between your thumb and index finger and slide it out carefully with the side closest to the switch coming out first.
Slide the new lens into the lens slot with the side closest to the nose pad first. When you have it in place, just push the switch back to its locked position and do the same thing for the other lens.
Half Jacket
A half jacket model will require you to grip the sunglasses’ frame temple with one hand and then the lens with the other. To remove the lens all you need to do is just pull the lens tab out.
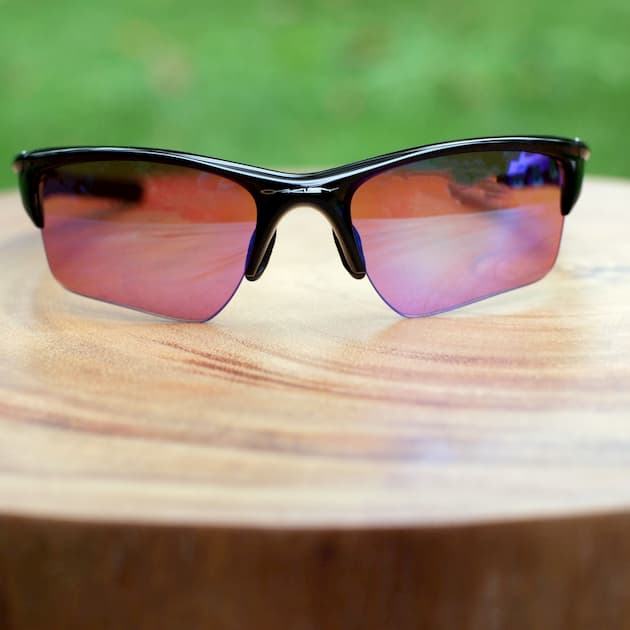
To put int the new lens get a hold of the frame temple and lens again. Start by fitting the outer lens first and then aligning the inner lens tab wit the groove in the nose bridge. By holding the lens firmly slide your thumb across the top of the frame until you have the under lens tab snap in the groove in the nose bridge.
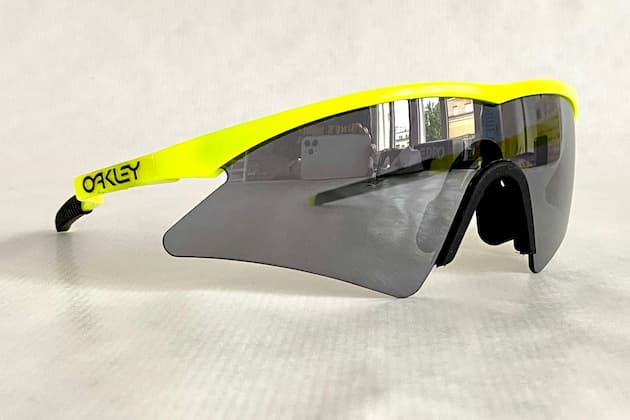
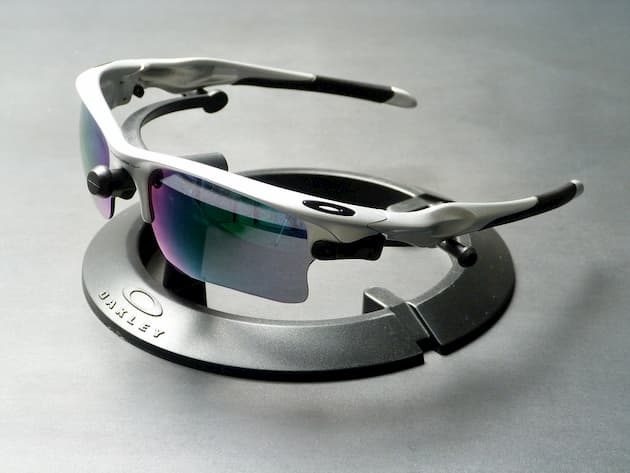
Racing & Split Jacket
Both a racing and split jacket model have the same replacement process. Start by grasping the nose pad close to the bottom and rotate it. Then, grasp the lower jaw and rotate it. Lastly, just remove the lens. To install your new pair of lenses place them into their original position, close the jaw, rotate the nose pad down and snap it into its locked position.
Styleswitch
To remove the lenses on a Styleswitch model lift up the switch located on the left side of the nose pads. Then, open up the lens section by using the hinge close to the left temple. Using your thumb and index finger take the lens and slide it out with the side closest to the hinge.
Installing new lenses requires you to slide them onto the lens slot with the side closest to the nose. When you have the lens in place, use the hinge to close the lens section and then return the nose pad back to its locked position.
O Rokr Pro
For O Rokr Pro models, remove the old lenses by gripping the frame temple with one hand, the lens with the other and then just pull the tab out of the frame temple. To install the new lenses, place the top corner of the lenses in the groove and rotate them to position them fully into the lens groove. Once you’ve done that, push the nose bridge onto the lens and towards the lens groove. The same installation process applies to the below mentioned models of Oakleys.
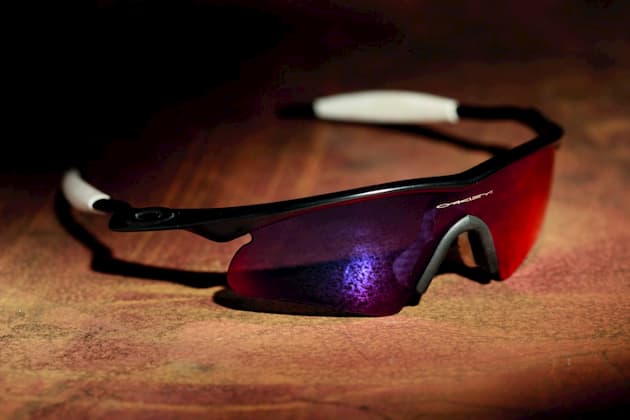
M2/ M Frame/ Pro M
Removing M2/ M Frame/ Pro M lenses is done by holding the centre of the frame and pulling the lenses out from the middle. Remember to squeeze the centre of the frame and pop up either corner of the frame to lift it away and remove the lens.
Radar Lock
Radar Lock lenses require a little bit more effort to remove than other models as they have a lock latch. This lock latch is located on the inside surface of the left temple. You need to grab a hold of the lock and door using your thumb and index finger, push on the lock and rotate the door away from the lens. Then, you need to rotate the temple and door together while pushing the lock. Follow this by pushing inwards on the nose bridge to release the bottom part of the lens. Lastly, rotate the lens towards the bottom to release it.